


31 Dec 2023
6:00 pm
Final
San Francisco49ers
49ers
27
-
10

Commanders
WashingtonCommanders
| 1 | 2 | 3 | 4 | T | |
|
|
10 | 3 | 7 | 7 | 27 |
|
|
0 | 10 | 0 | 0 | 10 |
Players
San Francisco 49ers
13
14
25

23
19
24
11
85

44
10

7
2
57

54
33
97

31
94

99

26

99
20
0
98
48
90
51

4

18
Washington Commanders
14

8
24

17

10
82

87

3
1
57

47
31
51
93

13

96

95
20

32

55

26
34
98

94

41
91

83

6
5

Team Statistics
San Francisco 49ers
Washington Commanders
28
Total 1st Downs
12
14
Passing 1st Downs
6
12
Rushing 1st Downs
5
2
1st Downs from Penalties
1
4-9
3rd Down Efficiency
3-9
0-1
4th Down Efficiency
0-1
68
Total Plays
43
408
Total Yards
225
9
Yards per Play
9
6.0
Total Drives
5.2
224
Total Passing
163
22-28
Passing Comp-Att
17-28
7.7
Yards per Pass
5.6
0
Interceptions Thrown
2
1-6
Sacks-Yards Lost
1-6
184
Total Rushing
62
39
Rushing Attempts
14
4.7
Yards per Rush
4.4
3-6
Red Zone (Made-Att)
1-2
3-20
Penalties
5-40
0
Total Turnovers
2
0
Fumbles lost
0
0
Turnovers Interceptions
2
38:13
Possession
21:47
2
Total Interceptions
0
0
Fumbles Recovered
0
1
Total Sacks
1
0
Total Safeties
0
10
Points Against
27
0
Int Touchdowns
0
Players Statistics
San Francisco 49ers
| Passing | C/Att | Yds | Avg | TD | Int | Sacks |
|---|---|---|---|---|---|---|
| Brock Purdy [QB] | 22/28 | 230 | 8.2 | 2 | 0 | 0-0 |
| Sam Darnold [QB] | 0/0 | 0 | 0.0 | 0 | 0 | 1-6 |
| Rushing | Yds | Att | TD | Lng |
|---|---|---|---|---|
| Brock Purdy [QB] | 4 | 1 | 0 | 4 |
| Jordan Mason [RB] | 3 | 2 | 0 | 5 |
| Elijah Mitchell [RB] | 80 | 17 | 1 | 15 |
| Deebo Samuel [WR] | 35 | 3 | 0 | 17 |
| Sam Darnold [QB] | -2 | 2 | 0 | -1 |
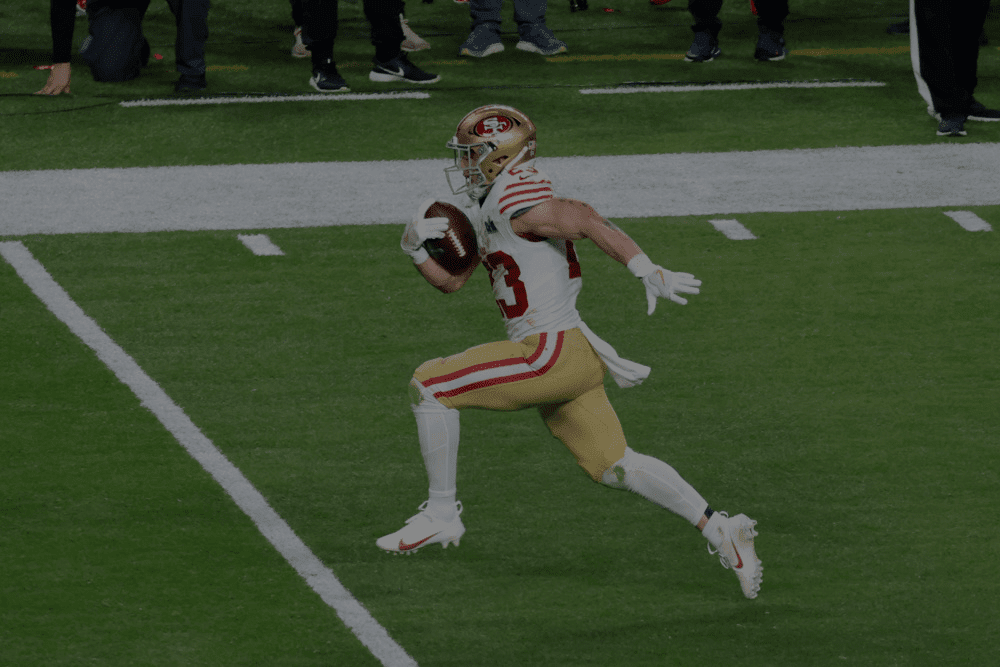
| Christian McCaffrey [RB] | 64 | 14 | 0 | 13 |
| Receiving | Tgts | Rec | Yds | Lng | TD |
|---|---|---|---|---|---|
| Kyle Juszczyk [FB] | 3 | 3 | 23 | 9 | 0 |
| Brandon Aiyuk [WR] | 8 | 7 | 114 | 38 | 1 |
| Deebo Samuel [WR] | 6 | 5 | 37 | 16 | 1 |
| George Kittle [TE] | 4 | 3 | 29 | 18 | 0 |
| Christian McCaffrey [RB] | 5 | 4 | 27 | 12 | 0 |
| Ronnie Bell [WR] | 1 | 0 | 0 | 0 | 0 |
| Fumbles | Fum |
|---|---|
| Sam Darnold [QB] | 1 |
| Interceptions | Int | Yds | TD |
|---|---|---|---|
| Deommodore Lenoir [CB] | 1 | 0 | 0 |
| Charvarius Ward [CB] | 1 | 3 | 0 |
| Tackles | Tckl | Solo | Sck |
|---|---|---|---|
| Chase Young [DE] | 1 | 1 | 0 |
| Clelin Ferrell [DE] | 2 | 1 | 1 |
| Isaiah Oliver [CB] | 1 | 1 | 0 |
| Javon Hargrave [DT] | 1 | 0 | 0 |
| Nick Bosa [DE] | 3 | 2 | 0 |
| Kevin Givens [DT] | 1 | 0 | 0 |
| Javon Kinlaw [DT] | 2 | 0 | 0 |
| Oren Burks [LB] | 1 | 0 | 0 |
| Dre Greenlaw [LB] | 10 | 6 | 0 |
| Fred Warner [LB] | 6 | 2 | 0 |
| Deommodore Lenoir [CB] | 3 | 2 | 0 |
| Ambry Thomas [CB] | 1 | 1 | 0 |
| Charvarius Ward [CB] | 4 | 3 | 0 |
| Samuel Womack III [CB] | 1 | 1 | 0 |
| Tashaun Gipson Sr. [S] | 2 | 2 | 0 |
| Logan Ryan [S] | 4 | 2 | 0 |
| Robert Beal Jr. [DE] | 1 | 0 | 0 |
| Kick Returns | No | Yds | Lng | TD |
|---|---|---|---|---|
| Jordan Mason [RB] | 1 | 28 | 28 | 0 |
| Punt Returns | No | Yds | Lng | TD |
|---|---|---|---|---|
| Ronnie Bell [WR] | 2 | 17 | 17 | 0 |
| Kicking | FG | Lng | XPM | XPA | Pts |
|---|---|---|---|---|---|
| Jake Moody [PK] | 2/2 | 38 | 3 | 3 | 9 |
| Punting | No | Yds | TB | in20 | Lng |
|---|---|---|---|---|---|
| Mitch Wishnowsky [P] | 2 | 76 | 0 | 2 | 40 |
Washington Commanders
| Passing | C/Att | Yds | Avg | TD | Int | Sacks |
|---|---|---|---|---|---|---|
| Sam Howell [QB] | 17/28 | 169 | 6.0 | 1 | 2 | 1-6 |
| Rushing | Yds | Att | TD | Lng |
|---|---|---|---|---|
| Sam Howell [QB] | -1 | 1 | 0 | -1 |
| Antonio Gibson [RB] | 19 | 4 | 0 | 16 |
| Brian Robinson Jr. [RB] | 44 | 9 | 0 | 12 |
| Receiving | Tgts | Rec | Yds | Lng | TD |
|---|---|---|---|---|---|
| Byron Pringle [WR] | 1 | 0 | 0 | 0 | 0 |
| Antonio Gibson [RB] | 4 | 2 | 17 | 15 | 0 |
| Brian Robinson Jr. [RB] | 4 | 4 | 32 | 22 | 0 |
| Jahan Dotson [WR] | 1 | 0 | 0 | 0 | 0 |
| Terry McLaurin [WR] | 6 | 4 | 61 | 42 | 1 |
| Curtis Samuel [WR] | 4 | 3 | 33 | 25 | 0 |
| John Bates [TE] | 2 | 1 | 6 | 6 | 0 |
| Logan Thomas [TE] | 4 | 3 | 20 | 8 | 0 |
| Fumbles | Fum |
|---|
| Interceptions | Int | Yds | TD |
|---|
| Tackles | Tckl | Solo | Sck |
|---|---|---|---|
| Byron Pringle [WR] | 2 | 2 | 0 |
| Terry McLaurin [WR] | 1 | 1 | 0 |
| John Bates [TE] | 1 | 1 | 0 |
| James Smith-Williams [DE] | 4 | 2 | 0 |
| Casey Toohill [DE] | 4 | 2 | 0 |
| Jonathan Allen [DT] | 5 | 2 | 0 |
| Phidarian Mathis [DT] | 2 | 0 | 0 |
| Daron Payne [DT] | 1 | 1 | 0 |
| John Ridgeway [DT] | 1 | 0 | 0 |
| Khaleke Hudson [LB] | 11 | 4 | 0 |
| David Mayo [LB] | 8 | 6 | 0 |
| Tariq Castro-Fields [CB] | 3 | 2 | 0 |
| Christian Holmes [CB] | 3 | 1 | 0 |
| Kamren Curl [S] | 9 | 6 | 0 |
| Cody Barton [LB] | 12 | 9 | 0 |
| Jabril Cox [LB] | 1 | 1 | 0 |
| Terrell Burgess [S] | 4 | 1 | 0 |
| Jartavius Martin [S] | 4 | 2 | 0 |
| Emmanuel Forbes [CB] | 4 | 4 | 0 |
| K.J. Henry [DE] | 3 | 3 | 0 |
| Team | 1 | 1 | 1 |
| Kick Returns | No | Yds | Lng | TD |
|---|
| Punt Returns | No | Yds | Lng | TD |
|---|---|---|---|---|
| Jamison Crowder [WR] | 1 | 2 | 2 | 0 |
| Kicking | FG | Lng | XPM | XPA | Pts |
|---|---|---|---|---|---|
| Joey Slye [PK] | 1/1 | 47 | 1 | 1 | 4 |
| Punting | No | Yds | TB | in20 | Lng |
|---|---|---|---|---|---|
| Tress Way [P] | 3 | 156 | 0 | 1 | 55 |
Latest Games
San Francisco 49ers
26 Dec 2023
1:15 am
NFL 2023-2024 /
Regular Season
/
Week16
BaltimoreRavens

Ravens
33
-
19
49ers
San Francisco49ers
Final
17 Dec 2023
9:05 pm
NFL 2023-2024 /
Regular Season
/
Week15
San Francisco49ers
49ers
45
-
29

Cardinals
ArizonaCardinals
Final
10 Dec 2023
9:05 pm
NFL 2023-2024 /
Regular Season
/
Week14
SeattleSeahawks
Seahawks
16
-
28
49ers
San Francisco49ers
Final

Washington Commanders
24 Dec 2023
6:00 pm
NFL 2023-2024 /
Regular Season
/
Week16
WashingtonCommanders
Commanders
28
-
30
Jets
New YorkJets
Final
17 Dec 2023
9:05 pm
NFL 2023-2024 /
Regular Season
/
Week15
WashingtonCommanders
Commanders
20
-
28

Rams
Los AngelesRams
Final
3 Dec 2023
6:00 pm
NFL 2023-2024 /
Regular Season
/
Week13
MiamiDolphins
Dolphins
45
-
15
Commanders
WashingtonCommanders
Final

Head to Head Games
Commentary
San Francisco 49ers
Washington Commanders
Field Goal
3-0
Jake Moody 38 Yd Field Goal
Q1 8:06
Touchdown
10-0
Deebo Samuel 2 Yd pass from Brock Purdy (Jake Moody Kick)
Q1 1:31
Q2 12:05
Field Goal
10-3
Joey Slye 47 Yd Field Goal
Q2 4:33
Touchdown
10-10
Terry McLaurin 3 Yd pass from Sam Howell (Joey Slye Kick)
Field Goal
13-10
Jake Moody 22 Yd Field Goal
Q2 0:19
Touchdown
20-10
Elijah Mitchell 2 Yd Run (Jake Moody Kick)
Q3 5:44
Touchdown
27-10
Brandon Aiyuk 17 Yd pass from Brock Purdy (Jake Moody Kick)
Q4 9:20
