


22 Nov 2022
1:15 am
Final
San Francisco49ers

49ers
38
-
10

Cardinals
ArizonaCardinals
| 1 | 2 | 3 | 4 | T | |
|
|
0 | 17 | 14 | 7 | 38 |
|
|
3 | 7 | 0 | 0 | 10 |
Players
San Francisco 49ers
10
25

23
19
24
44
13
85

11
3
15

1
0
7
57
54
29
2
97
31
2
90
96
91

56
18
48
99

90
95
9
Arizona Cardinals
12

4
6
30
4
83
10

18
85
87

40
3
57
25

49
33
19
95
99
19
93
0
34
31
41
99
44
54
47
97
45
97
5
14
Team Statistics
San Francisco 49ers
Arizona Cardinals
21
Total 1st Downs
19
13
Passing 1st Downs
12
7
Rushing 1st Downs
6
1
1st Downs from Penalties
1
6-11
3rd Down Efficiency
8-16
0-0
4th Down Efficiency
0-2
57
Total Plays
71
387
Total Yards
314
11
Yards per Play
11
6.8
Total Drives
4.4
228
Total Passing
247
20-29
Passing Comp-Att
30-44
7.9
Yards per Pass
5.3
0
Interceptions Thrown
2
0-0
Sacks-Yards Lost
3-30
159
Total Rushing
67
28
Rushing Attempts
24
5.7
Yards per Rush
2.8
2-2
Red Zone (Made-Att)
1-2
3-30
Penalties
5-50
0
Total Turnovers
2
0
Fumbles lost
0
0
Turnovers Interceptions
2
29:09
Possession
30:51
2
Total Interceptions
0
0
Fumbles Recovered
0
3
Total Sacks
0
0
Total Safeties
0
10
Points Against
38
0
Int Touchdowns
0
Players Statistics
San Francisco 49ers
| Passing | C/Att | Yds | Avg | TD | Int | Sacks |
|---|---|---|---|---|---|---|
| Jimmy Garoppolo [QB] | 20/29 | 228 | 7.9 | 4 | 0 | 0-0 |
| Rushing | Yds | Att | TD | Lng |
|---|---|---|---|---|
| Jimmy Garoppolo [QB] | 3 | 1 | 0 | 3 |
| Brock Purdy [QB] | 3 | 3 | 0 | 5 |
| Jordan Mason [RB] | 14 | 4 | 0 | 8 |
| Elijah Mitchell [RB] | 59 | 9 | 0 | 19 |
| Kyle Juszczyk [FB] | 4 | 1 | 0 | 4 |
| Deebo Samuel [WR] | 37 | 3 | 1 | 39 |
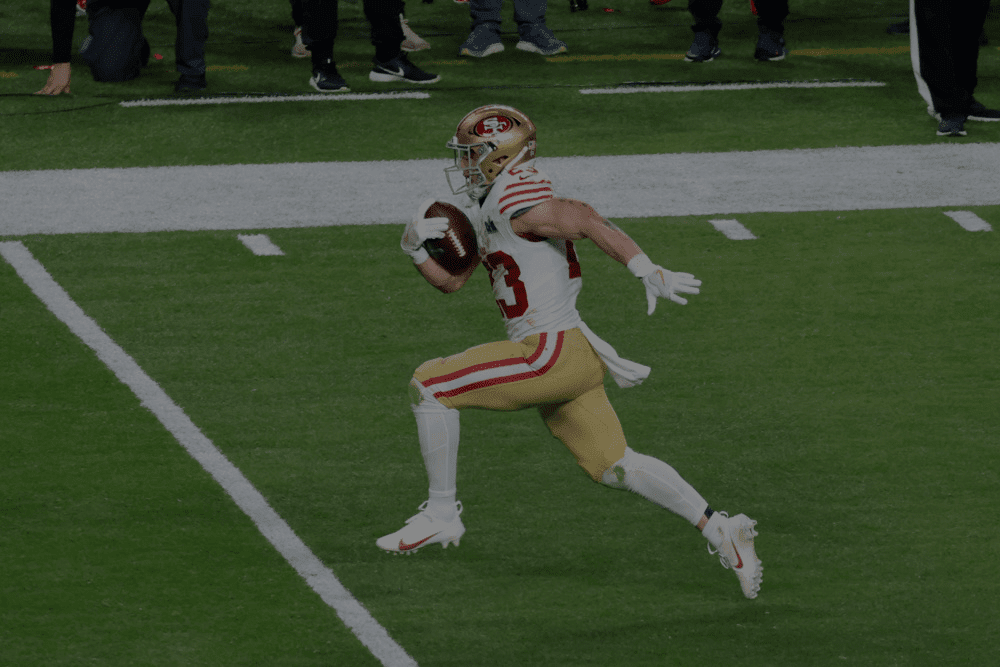
| Christian McCaffrey [RB] | 39 | 7 | 0 | 20 |
| Receiving | Tgts | Rec | Yds | Lng | TD |
|---|---|---|---|---|---|
| Brandon Aiyuk [WR] | 4 | 2 | 20 | 13 | 2 |
| Jauan Jennings [WR] | 2 | 0 | 0 | 0 | 0 |
| Ray-Ray McCloud III [WR] | 1 | 0 | 0 | 0 | 0 |
| Deebo Samuel [WR] | 8 | 7 | 57 | 19 | 0 |
| George Kittle [TE] | 6 | 4 | 84 | 39 | 2 |
| Christian McCaffrey [RB] | 7 | 7 | 67 | 14 | 0 |
| Fumbles | Fum |
|---|
| Interceptions | Int | Yds | TD |
|---|---|---|---|
| Jimmie Ward [S] | 1 | 0 | 0 |
| Samuel Womack III [CB] | 1 | 0 | 0 |
| Tackles | Tckl | Solo | Sck |
|---|---|---|---|
| Kerry Hyder Jr. [DE] | 1 | 1 | 0 |
| Hassan Ridgeway [DT] | 2 | 1 | 0 |
| Jimmie Ward [S] | 5 | 3 | 0 |
| Azeez Al-Shaair [LB] | 3 | 2 | 0 |
| Charles Omenihu [DE] | 0 | 0 | 0 |
| Jordan Willis [DE] | 1 | 0 | 0 |
| Nick Bosa [DE] | 3 | 3 | 1 |
| Drake Jackson [DE] | 0 | 0 | 0 |
| Kevin Givens [DT] | 2 | 2 | 1 |
| Oren Burks [LB] | 1 | 0 | 0 |
| Dre Greenlaw [LB] | 9 | 8 | 0 |
| Fred Warner [LB] | 6 | 5 | 1 |
| Deommodore Lenoir [CB] | 4 | 3 | 0 |
| Charvarius Ward [CB] | 10 | 9 | 0 |
| Samuel Womack III [CB] | 4 | 3 | 0 |
| Tashaun Gipson Sr. [S] | 3 | 3 | 0 |
| Talanoa Hufanga [S] | 6 | 5 | 0 |
| Mitch Wishnowsky [P] | 1 | 1 | 0 |
| T.Y. McGill [DT] | 2 | 2 | 0 |
| Kick Returns | No | Yds | Lng | TD |
|---|
| Punt Returns | No | Yds | Lng | TD |
|---|---|---|---|---|
| Ray-Ray McCloud III [WR] | 2 | 13 | 7 | 0 |
| Kicking | FG | Lng | XPM | XPA | Pts |
|---|---|---|---|---|---|
| Robbie Gould [PK] | 1/1 | 39 | 5 | 5 | 8 |
| Punting | No | Yds | TB | in20 | Lng |
|---|---|---|---|---|---|
| Mitch Wishnowsky [P] | 4 | 218 | 1 | 2 | 61 |
Arizona Cardinals
| Passing | C/Att | Yds | Avg | TD | Int | Sacks |
|---|---|---|---|---|---|---|
| Trace McSorley [QB] | 6/10 | 59 | 5.9 | 0 | 1 | 0-0 |
| Colt McCoy [QB] | 24/34 | 218 | 6.4 | 0 | 1 | 3-30 |
| Rushing | Yds | Att | TD | Lng |
|---|---|---|---|---|
| Trace McSorley [QB] | 6 | 1 | 0 | 6 |
| Colt McCoy [QB] | 6 | 3 | 0 | 4 |
| James Conner [RB] | 42 | 14 | 1 | 14 |
| Keaontay Ingram [RB] | 19 | 5 | 0 | 13 |
| Rondale Moore [WR] | -6 | 1 | 0 | -6 |
| Receiving | Tgts | Rec | Yds | Lng | TD |
|---|---|---|---|---|---|
| James Conner [RB] | 4 | 2 | 12 | 7 | 0 |
| Greg Dortch [WR] | 10 | 9 | 103 | 47 | 0 |
| Trey McBride [TE] | 4 | 4 | 14 | 6 | 0 |
| DeAndre Hopkins [WR] | 12 | 9 | 91 | 17 | 0 |
| Stephen Anderson [TE] | 0 | 0 | 0 | 0 | 0 |
| A.J. Green [WR] | 8 | 5 | 50 | 18 | 0 |
| Maxx Williams [TE] | 1 | 1 | 7 | 7 | 0 |
| Fumbles | Fum |
|---|---|
| James Conner [RB] | 1 |
| Interceptions | Int | Yds | TD |
|---|
| Tackles | Tckl | Solo | Sck |
|---|---|---|---|
| Trysten Hill [DT] | 1 | 1 | 0 |
| Marco Wilson [CB] | 3 | 3 | 0 |
| Michael Dogbe [DE] | 2 | 2 | 0 |
| Myjai Sanders [LB] | 2 | 1 | 0 |
| Tanner Vallejo [LB] | 3 | 3 | 0 |
| Isaiah Simmons [S] | 3 | 1 | 0 |
| Markus Golden [LB] | 1 | 1 | 0 |
| James Conner [RB] | 1 | 1 | 0 |
| Jonathan Ledbetter [DE] | 3 | 0 | 0 |
| Leki Fotu [DT] | 3 | 2 | 0 |
| Zaven Collins [LB] | 7 | 2 | 0 |
| Dennis Gardeck [LB] | 1 | 1 | 0 |
| Cameron Thomas [LB] | 0 | 0 | 0 |
| Ezekiel Turner [LB] | 1 | 1 | 0 |
| Antonio Hamilton [CB] | 3 | 3 | 0 |
| Budda Baker [S] | 10 | 8 | 0 |
| Jalen Thompson [S] | 2 | 2 | 0 |
| Zach Allen [DE] | 3 | 1 | 0 |
| Ben Niemann [LB] | 7 | 2 | 0 |
| Kamu Grugier-Hill [LB] | 1 | 1 | 0 |
| J.J. Watt [DE] | 1 | 1 | 0 |
| Chris Banjo [S] | 2 | 1 | 0 |
| Kick Returns | No | Yds | Lng | TD |
|---|
| Punt Returns | No | Yds | Lng | TD |
|---|---|---|---|---|
| Greg Dortch [WR] | 1 | 15 | 15 | 0 |
| Kicking | FG | Lng | XPM | XPA | Pts |
|---|---|---|---|---|---|
| Matt Prater [PK] | 1/1 | 40 | 1 | 1 | 4 |
| Punting | No | Yds | TB | in20 | Lng |
|---|---|---|---|---|---|
| Andy Lee [P] | 4 | 181 | 0 | 2 | 59 |
Latest Games
San Francisco 49ers
14 Nov 2022
1:20 am
NFL 2022-2023 /
Regular Season
/
Week10
Los AngelesChargers
Chargers
16
-
22
49ers
San Francisco49ers
Final
30 Oct 2022
8:25 pm
NFL 2022-2023 /
Regular Season
/
Week8
San Francisco49ers
49ers
31
-
14

Rams
Los AngelesRams
Final
23 Oct 2022
8:25 pm
NFL 2022-2023 /
Regular Season
/
Week7
Kansas CityChiefs

Chiefs
44
-
23
49ers
San Francisco49ers
Final

Arizona Cardinals
13 Nov 2022
9:25 pm
NFL 2022-2023 /
Regular Season
/
Week10
ArizonaCardinals
Cardinals
27
-
17
Rams
Los AngelesRams
Final
6 Nov 2022
9:05 pm
NFL 2022-2023 /
Regular Season
/
Week9
SeattleSeahawks
Seahawks
31
-
21
Cardinals
ArizonaCardinals
Final
30 Oct 2022
5:00 pm
NFL 2022-2023 /
Regular Season
/
Week8
ArizonaCardinals
Cardinals
26
-
34

Vikings
MinnesotaVikings
Final

Head to Head Games
Commentary
San Francisco 49ers
Arizona Cardinals
Q1 8:00
Field Goal
0-3
Matt Prater 40 Yd Field Goal
Touchdown
7-3
Brandon Aiyuk 7 Yd pass from Jimmy Garoppolo (Robbie Gould Kick)
Q2 13:35
Touchdown
14-3
George Kittle 39 Yd pass from Jimmy Garoppolo (Robbie Gould Kick)
Q2 8:42
Q2 4:19
Touchdown
14-10
James Conner 2 Yd Run (Matt Prater Kick)
Field Goal
17-10
Robbie Gould 39 Yd Field Goal
Q2 0:43
Touchdown
24-10
Deebo Samuel 39 Yd Run (Robbie Gould Kick)
Q3 10:34
Touchdown
31-10
Brandon Aiyuk 13 Yd pass from Jimmy Garoppolo (Robbie Gould Kick)
Q3 0:28
Touchdown
38-10
George Kittle 32 Yd pass from Jimmy Garoppolo (Robbie Gould Kick)
Q4 10:08
